

How to Practise Suturing for OSCE — A 7-Step Practical Guide
Suturing stations reward calm, repeatable technique. This guide shows how to practise suturing for OSCE in 7 steps: set up like a station, handle the instruments safely, rehearse the stitches and avoid 6 common mistakes, using a silicone pad and standard instruments.
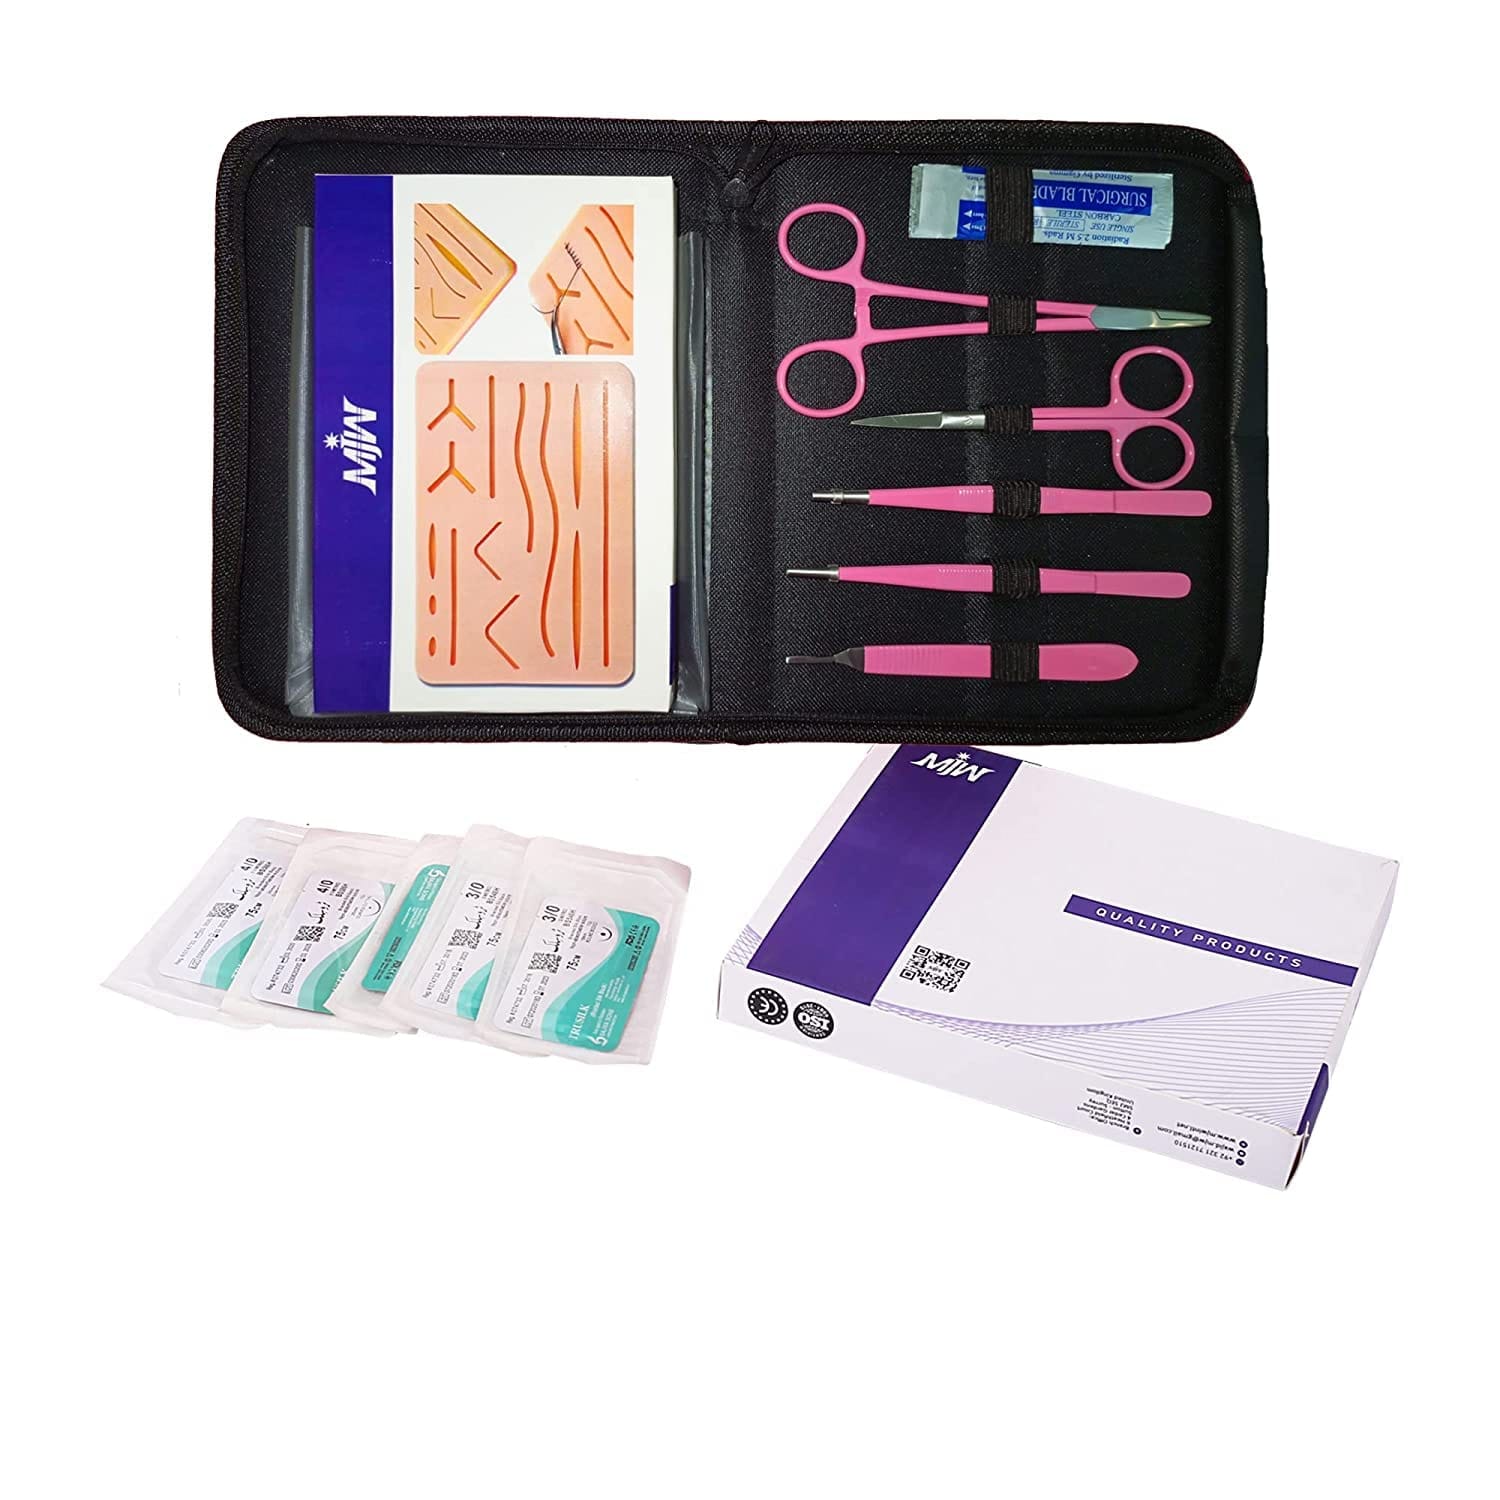
Practising with the same instrument types you expect at a station helps your hands learn the movements. Our suture practice kit includes all of these.
How to Practise Suturing for OSCE: The Short Answer
To learn how to practise suturing for OSCE, set up your instruments like a station, rehearse safe needle handling, repeat simple interrupted sutures and instrument-tied knots until they are even and secure, then add continuous and mattress sutures and time the full sequence. Use a silicone pad with real instruments, and explain each step aloud. Always follow your own institution's marking scheme, because requirements differ.
Suturing stations usually reward calm, safe, repeatable technique rather than speed. Examiners watch how you handle sharps, how you hold the instruments and whether your stitches are even and secure. Knowing how to practise suturing for OSCE means turning repetition on a realistic pad into a routine, and the seven steps below do exactly that. Good suture practice for OSCE is short, frequent and deliberate.
Step 1: How to Practise Suturing for OSCE Starts With Set-Up
Lay out your equipment before you start, as you would at a station: needle holder, forceps, scissors, suture and pad. Put a timer on, and keep a sharps container or safe disposal for blades. Practising the set-up itself makes the real station feel familiar, and it is the first of our suturing OSCE station tips.
Step 2: Handle the Instruments Safely
Load the needle on the needle holder at a point commonly taught as about two-thirds of the way along from the tip, hold the holder with a relaxed thumb-ring grip, and use forceps to steady tissue rather than crush it. Never touch the needle with your fingers, and keep sharps handling deliberate. Follow the technique your own course teaches.
Step 3: Place the Needle Correctly
Enter the pad at close to a right angle, follow the curve of the needle with a wrist rotation instead of pushing it straight through, and aim for equal bites on both sides of the wound. Lightly evert the edges so they meet cleanly.
Step 4: Master Simple Interrupted Sutures First
OSCE suturing practice should begin with simple interrupted sutures. Repeat them until your spacing and tension are consistent across all 14 incisions. Even spacing, and edges that meet without strangling the tissue, are easy to see when black silk is used on a light pink pad.
Step 5: Drill Instrument-Tied Knots
Repeat instrument-tied knots until they are secure and fast without losing control. Square down each throw, keep tension even, then trim the tails with scissors, leaving a short, tidy end.
Step 6: Add Continuous and Mattress Sutures
Once simple interrupted sutures are reliable, add continuous (running) sutures, vertical mattress sutures and horizontal mattress sutures. Practise one new technique at a time, and return to simple interrupted sutures to keep them sharp.
Step 7: Run the Full Sequence, the Way You Will at a Station
This is the final step in how to practise suturing for OSCE. Finish each session by running the whole sequence from set-up to trimmed tails. Explain what you are doing aloud, because many stations also assess communication and safe practice. Time yourself and aim to improve consistency, not just speed.
How to Practise Suturing for OSCE: 6 Mistakes to Avoid
These OSCE suturing mistakes are the ones students most often repeat when they practise alone:
How to Practise Suturing for OSCE: A 4-Week Schedule
Week 1: instrument handling and set-up, 3 short sessions. Week 2: simple interrupted sutures and instrument-tied knots. Week 3: continuous and mattress sutures with timing. Week 4: full station run-throughs while explaining each step. Short, frequent sessions usually work better than one long session. Adapt the schedule to your own exam date and course requirements.
Which Kit Should You Use for Suture Practice for OSCE?
A complete set means you can rehearse the whole sequence. Our suture practice kit includes a light pink 14-incision pad, a Mayo-Hegar needle holder, scissors, two forceps, a scalpel and 3/0 and 4/0 black silk. See also the suture training kit, and our pages for medical students and nursing students. Dental students can see suture kit for dental students. The kits are CE marked and made under an ISO 13485 quality system, and we ship worldwide from Sialkot, Pakistan.
This guide is for practice only and is not clinical advice. Our kits are not affiliated with or endorsed by any examining body.